Large/Split Conference Rooms AV
Audio Visual controls for the large split conference rooms 1125A & B and 2213A & B.
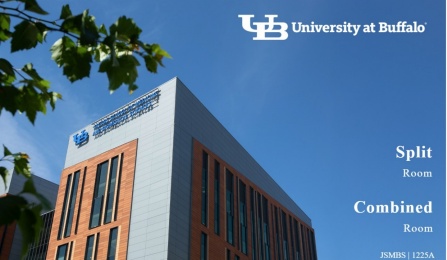

Choose between split or combined options for half or full room audio visual settings.
NOTE:
This option is only available on instructor stations that can use half or the whole room.
Control Options

The left side contains the different input options for the projector and room audio.
The right has volume controls as well as other AV options.
The bottom encompasses the projector power option, mute, and the room's lighting and screen controls.
Microphone Controls

These conference rooms contain ceiling microphones and can be controlled by the Room Mic button shown above on the right.
GREEN: On
RED: Off
If the Room Mic button is ON (displayed as green), the audience will be heard on conference calls and recorded lectures/classes.
The lectern drawer should have a lavalier and handheld microphone for use if the ceiling microphones are NOT adequate
Camera Controls

The camera button opens the camera controls. From here, you will be able to see what the camera is seeing and allows you to make any adjustments to the camera from the touchpad.
There are convenient presets which allow the user to change the camera view from the speaker to the audience as well as the whiteboard.
Screen & Light Controls

Lights and screen controls. This is not a page that you will use often. Some rooms have the capability of turning the lights on and off or bright and dim. They should be programmed to do this for you already. But if not, you would click here and select the brightness or on and off.
The screen controls should not be used and are only used to raise and lower the screen.